
 Nick Pelios
Freediver, Creator

 Nick Pelios
Freediver, Creator
Maintaining your underwater housing is of paramount importance for the longevity and optimal performance of your gear. In this video, Alchemy partner Josh Munoz covers the correct methods for cleaning the housing, maintaining your O-rings, setting up your camera inside the housing, caring for your camera body, and ensuring the appropriate storage of your gear. By adopting professional care practices, you enhance the lifespan of your equipment, guaranteeing its continued functionality and preserving the quality of your underwater photography and videography.
Caring for your gear is pivotal for enhancing its longevity. There are crucial steps to follow each time your underwater housing comes into contact with water. Additionally, there are important maintenance tasks to undertake weekly or bi-weekly, depending on your housing usage frequency. Furthermore, there is a vital annual to biennial step for your housing's upkeep, which we'll explore in detail towards the end of this video. So, let's delve into these essential practices.
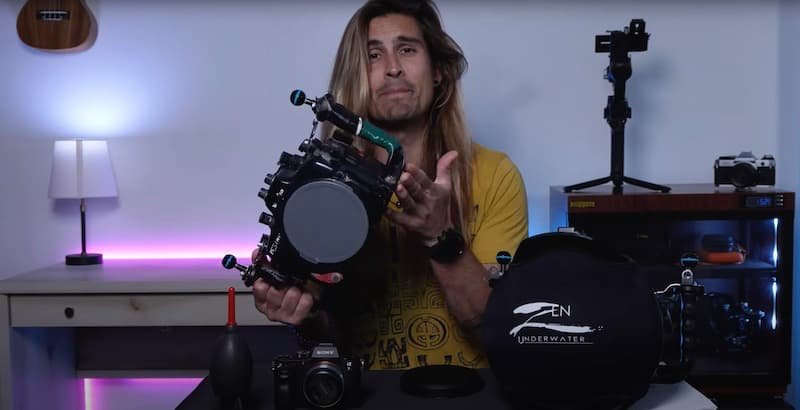
Cleaning the housing following each use is a straightforward yet essential practice, especially if it has been exposed to saltwater. To initiate the process, we recommend either spraying down the housing with fresh water or, even better, allowing it to soak in a large bucket or bin for several minutes. The optimal approach involves pressing every single button while rinsing or soaking the housing to ensure that no water becomes trapped beneath the springs. Over time, this precaution prevents buttons from becoming sticky.
After rinsing, the focus shifts to thoroughly drying the housing. While a towel is effective, the subsequent step involves using an air duster to spray in between every button or any area prone to water retention. Neglecting this step could lead to the springs becoming sticky over time, posing a detriment to the housing. Storing the housing with residual water in these areas can also be problematic.
Surprisingly, significant amounts of water can accumulate within these spaces if not adequately removed. Following this, placing the housing under a fan aids in the drying process. However, it is crucial to avoid drying it directly in the sun to prevent potential damage.
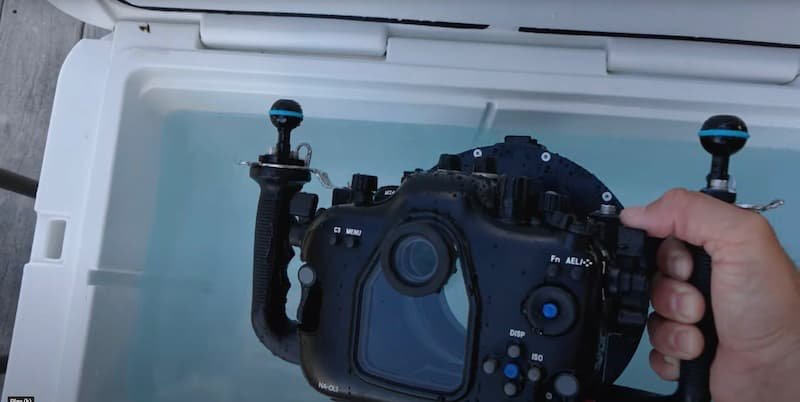
Ensuring the well-being of your O-rings is a crucial step in preventing any water ingress into your housing. This process typically takes between 30 to 45 minutes, depending on your housing usage. Ideally, it should be performed at the end of every week or, at the very least, once per month. The presence of saltwater on the exterior of these O-rings, if left uncleansed, can lead to the salt drying over time, forming crystal-like deposits. The subsequent deep underwater pressure can cause these crystals to squeeze into the O-ring, potentially resulting in minute tears that allow water to penetrate your camera housing.
After ensuring your housing is clean and dry, the next step involves utilizing an O-ring removal tool (a guitar pick or paper clip can be alternatives) to meticulously remove each O-ring. Subsequently, rinsing these O-rings under fresh water becomes essential to eliminate any residual debris or salt accumulation. Once rinsed, the O-rings should be set aside, preferably in a bowl of water.
Moving on to the housing cleaning process, a lint-free rag or paper towel should be employed to navigate through the grooves and edges where the O-rings sit. This is to eradicate any remnants of old grease, hair, or dust. It is imperative to ensure that the housing is thoroughly cleaned before reinserting the O-rings.
Returning to the O-rings, the next step involves applying fresh o-ring grease. Using a small amount every few inches around the entire O-ring, rubbing it in ensures a proper application. This method allows for the detection of tears, facilitating their removal, and addressing any potential hair presence. It is crucial to avoid getting grease on the housing during this process, as it can be challenging to clean. Particular care should be taken to prevent grease from reaching the glass Dome, as its removal can be exceptionally difficult.
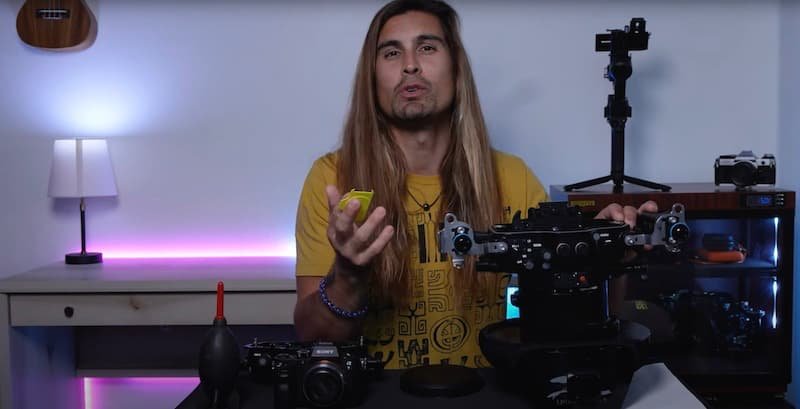
When setting up your camera, particularly when dealing with the lens or the dome, there are specific precautions to observe. The primary concern is avoiding the inadvertent exposure of the dome to dust and hairs, as these can adversely impact the resulting images. This precaution is particularly crucial when working with our camera and lens. It is imperative not to leave these components open and exposed while handling gear, always ensuring they are closed off, or at the very least, covered with the cap.
During the process of removing or switching out lenses, a best practice is to have the camera body facing completely downward. This minimizes the risk of dust or hairs infiltrating the camera sensor. Similarly, when assembling the underwater housing, a consistent approach is to maintain the Dome facing downward. This careful handling helps prevent the intrusion of dust or hairs into the Dome, ensuring optimal image quality.
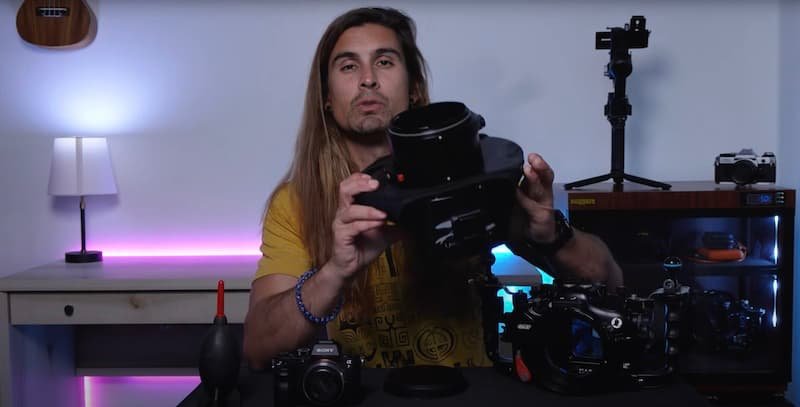
Maintaining your camera body is a straightforward process, especially if you have diligently cared for your housing. When handled properly, there should be no instance of water coming into contact with your camera. However, during lens changes, there might be occasions where dust or tiny hairs find their way inside. In such cases, I prefer using an air duster to meticulously clean the sensor, ensuring a thorough inspection to confirm its pristine condition. This practice allows me to confidently reattach the lens and proceed.
Alternatively, you can opt to send your camera body for professional cleaning services. Expert cleaners will ensure a thorough cleaning of the sensor, eliminating any marks or smudges. Yet, it's important to note that avoiding such issues is relatively simple by consistently adhering to the practice of never leaving the camera body open and exposed during assembly or any other handling procedures.
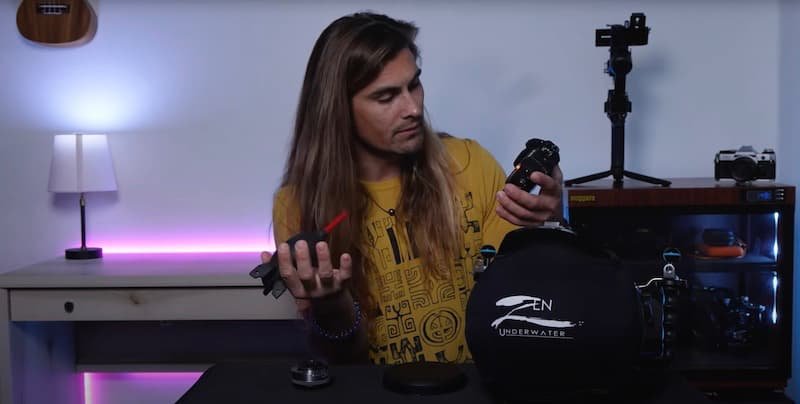
To appropriately store your gear, I recommend placing it either in a Pelican case or a dry cabinet, allowing you to regulate humidity levels. When using a Pelican case, it's imperative to ensure that your housing is completely dry, eliminating any water inside or around it before locking it within. I also suggest incorporating silica gel packets into the Pelican case to absorb any residual moisture.
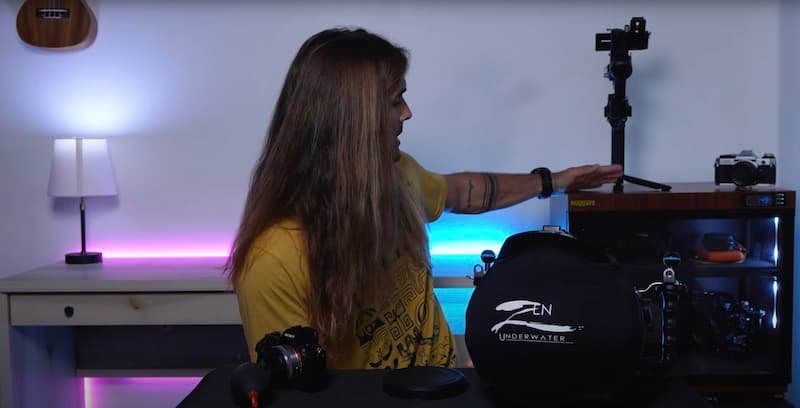
For a more effective storage solution, consider investing in a dry cabinet with humidity control. While it may be slightly more expensive, brands like Ruggard offer exceptional equipment. This type of cabinet allows you to leave all your gear inside, giving you the ability to manage both humidity levels and temperature effectively.
Now, the last crucial step I'd suggest for your housing is an annual, or perhaps biennial, professional servicing, depending on your usage frequency and schedule. If you have upcoming trips planned, this maintenance becomes even more pertinent. Sending your housing to reputable service providers like Backscatter is highly recommended. Their expert refurbishment includes the meticulous replacement of springs, O-rings, and a comprehensive inspection of the housing's interior. This ensures cleanliness and proper functionality, with a particular focus on buttons.
Typically, the turnaround time for such services ranges between 2 to 4 weeks. However, expedited services are available if you need your housing back promptly. I appreciate your viewership of this video, and I encourage you to continue maintaining the cleanliness of your housing and camera throughout the years.