
Share this on


Accidents happen, and if your DSLR camera has suffered from water damage, don't despair! In this comprehensive tutorial, we'll walk you through the exact steps you need to take to rescue your beloved camera from the brink of destruction. From immediate actions to prevent further damage to the intricate process of drying and repairing, we've got you covered.
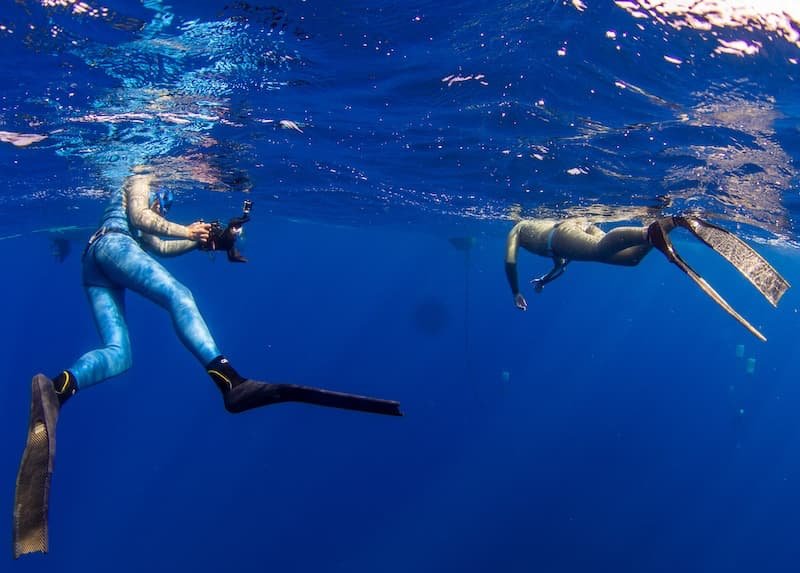
But before that, let me explain what happened. My friends and I went for a regular dive; we did a couple of dives, and after that, we started shooting underwater content. On the last dive, I started hearing some beeping, and it wasn't from my watch. So, I turned and started going back as fast as possible. On the surface, I checked my camera, and I realized there was water inside.
Here is tip number one: you need to remove your camera from the water as fast as possible. In my case, I opened it on top of the buoy, then I left the housing and started swimming to the boat. If you dive in next to the boat, do it on the boat itself.
The next step will be to open all slots and remove as much water as possible. In my case, there wasn't water inside, so I just cleaned the camera with a paper towel, removed my battery and memory card. Also, I detached my lens and let it dry. Another tip, don't put your camera in direct sunlight; keep it in the shadow.
If you Google how to dry your camera or any other electronic device, probably the number one answer will be rice. But honestly, I don't like that method because it will take a very long time, from a couple of days to a couple of weeks. Plus, I don't like eating rice, so for me, it's another reason not to use it. But I can suggest desiccant or silica gel. Basically, you can find it anywhere, inside a box of shoes, bags, or even sport supplements like protein powder. I always carry a lot of them in a dry ziplock bag in case of an emergency. In my case, I just cleaned the camera and housing, put the camera inside, and put as many of these bags as possible and let it dry. You will see how fast it's going, and you will just need to replace them with new ones. For me, it took two or three days when I realized it's totally dry and everything was okay.
Once it's done, before using your camera, I suggest checking all metal parts for rust on the lens or anything wrong with the camera. I would suggest going to the service center and giving your camera to professional hands if there are any issues.
As I mentioned before, in my case, everything was fine, so I just checked my camera and started using it again. As an alternative, you can put your camera inside a pillow and use a hair dryer. Please be careful with hot air because it can damage the lens or display. Also, I want to tell you I'm not a professional in technical repair, so everything that you will do is up to you. If you're worried about your camera, it's better always to check with professional technicians in a service center.

Let's talk about how to prevent this kind of situation. Maybe it's obvious, but the most important thing is to always check your gear before each dive. Check all connections, all O-rings because 99% of all problems come from there. Don't forget to use a silicon loop for O-rings. Also, if you have the option, remove air with a vacuum pump and always check your alarm system for leaking, if you have that. It will help you to realize something is going wrong if there's water inside your housing.